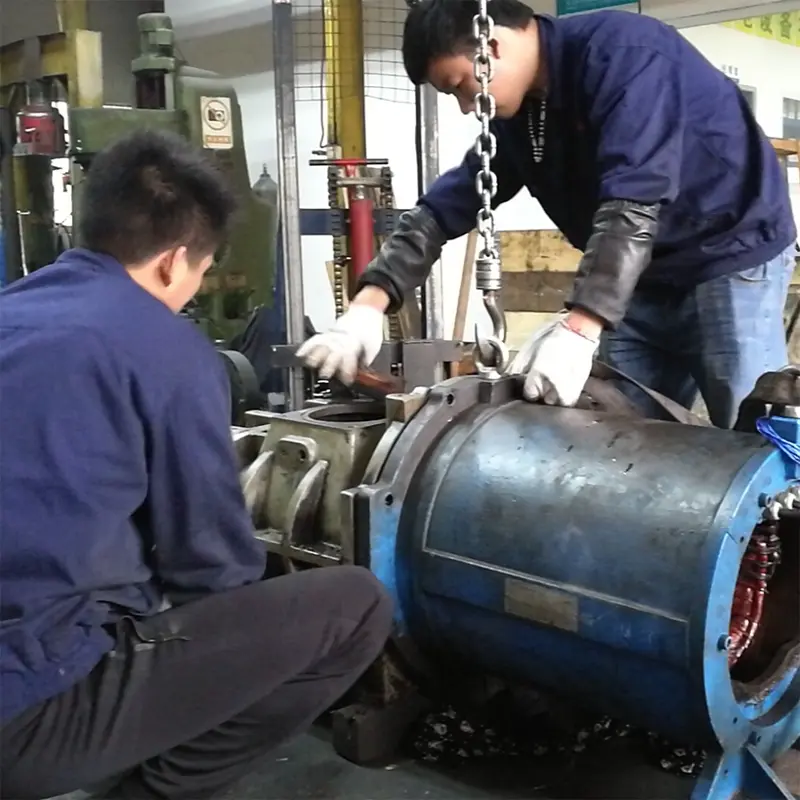
How to replace the screw air compressor intake valve

It’s usually possible to complete the task of replacing the intake valve on a screw air compressor with just a few simple tools. An overview of how to change the intake valve is provided below:
- Getting ready: Before beginning, check sure the compressor is off and unplugged from any power sources. Open the drain valve to release any additional internal pressure.
- Access the valve by finding the intake valve, which is often placed close to the compressor’s inlet. In order to access the valve, you might need to remove a cover or panel from some models.
- The old valve should be removed by loosening and removing any fasteners using a wrench. Remove the old valve with caution, paying attention to any gaskets or O-rings that might come free while you’re doing it.
- Clean the mounting area and insert the new valve after replacing the old one. Replace any gaskets or O-rings that the old valve caused to come out. For the valve to be fixed in place, tighten the fasteners.
- Analyze the system: Restart the compressor and check for appropriate operation after installing the new valve. To make sure the valve is operating properly, listen for any odd noises or leaks and make any required modifications.
When changing an intake valve, remember to always abide by the manufacturer’s directions. Additionally, it’s advised that you obtain professional assistance if you have no experience working on air compressors in order to prevent any potential safety risks or harm to the machine.
